
Less prompting, more designing.
By Kerry Murphy, CEO of The Fabricant. Last updated 5 November 2026.
The Assistant is an AI fashion assistant on The Fabricant platform. It lets fashion designers and brands describe a change to a garment image in one plain sentence and get a finished, high-quality image back. You attach the image, type what you need, and the Assistant chooses the tool, writes the full instruction and runs it. You get two results and pick the one you like. No prompt engineering, no settings, no AI expertise needed.
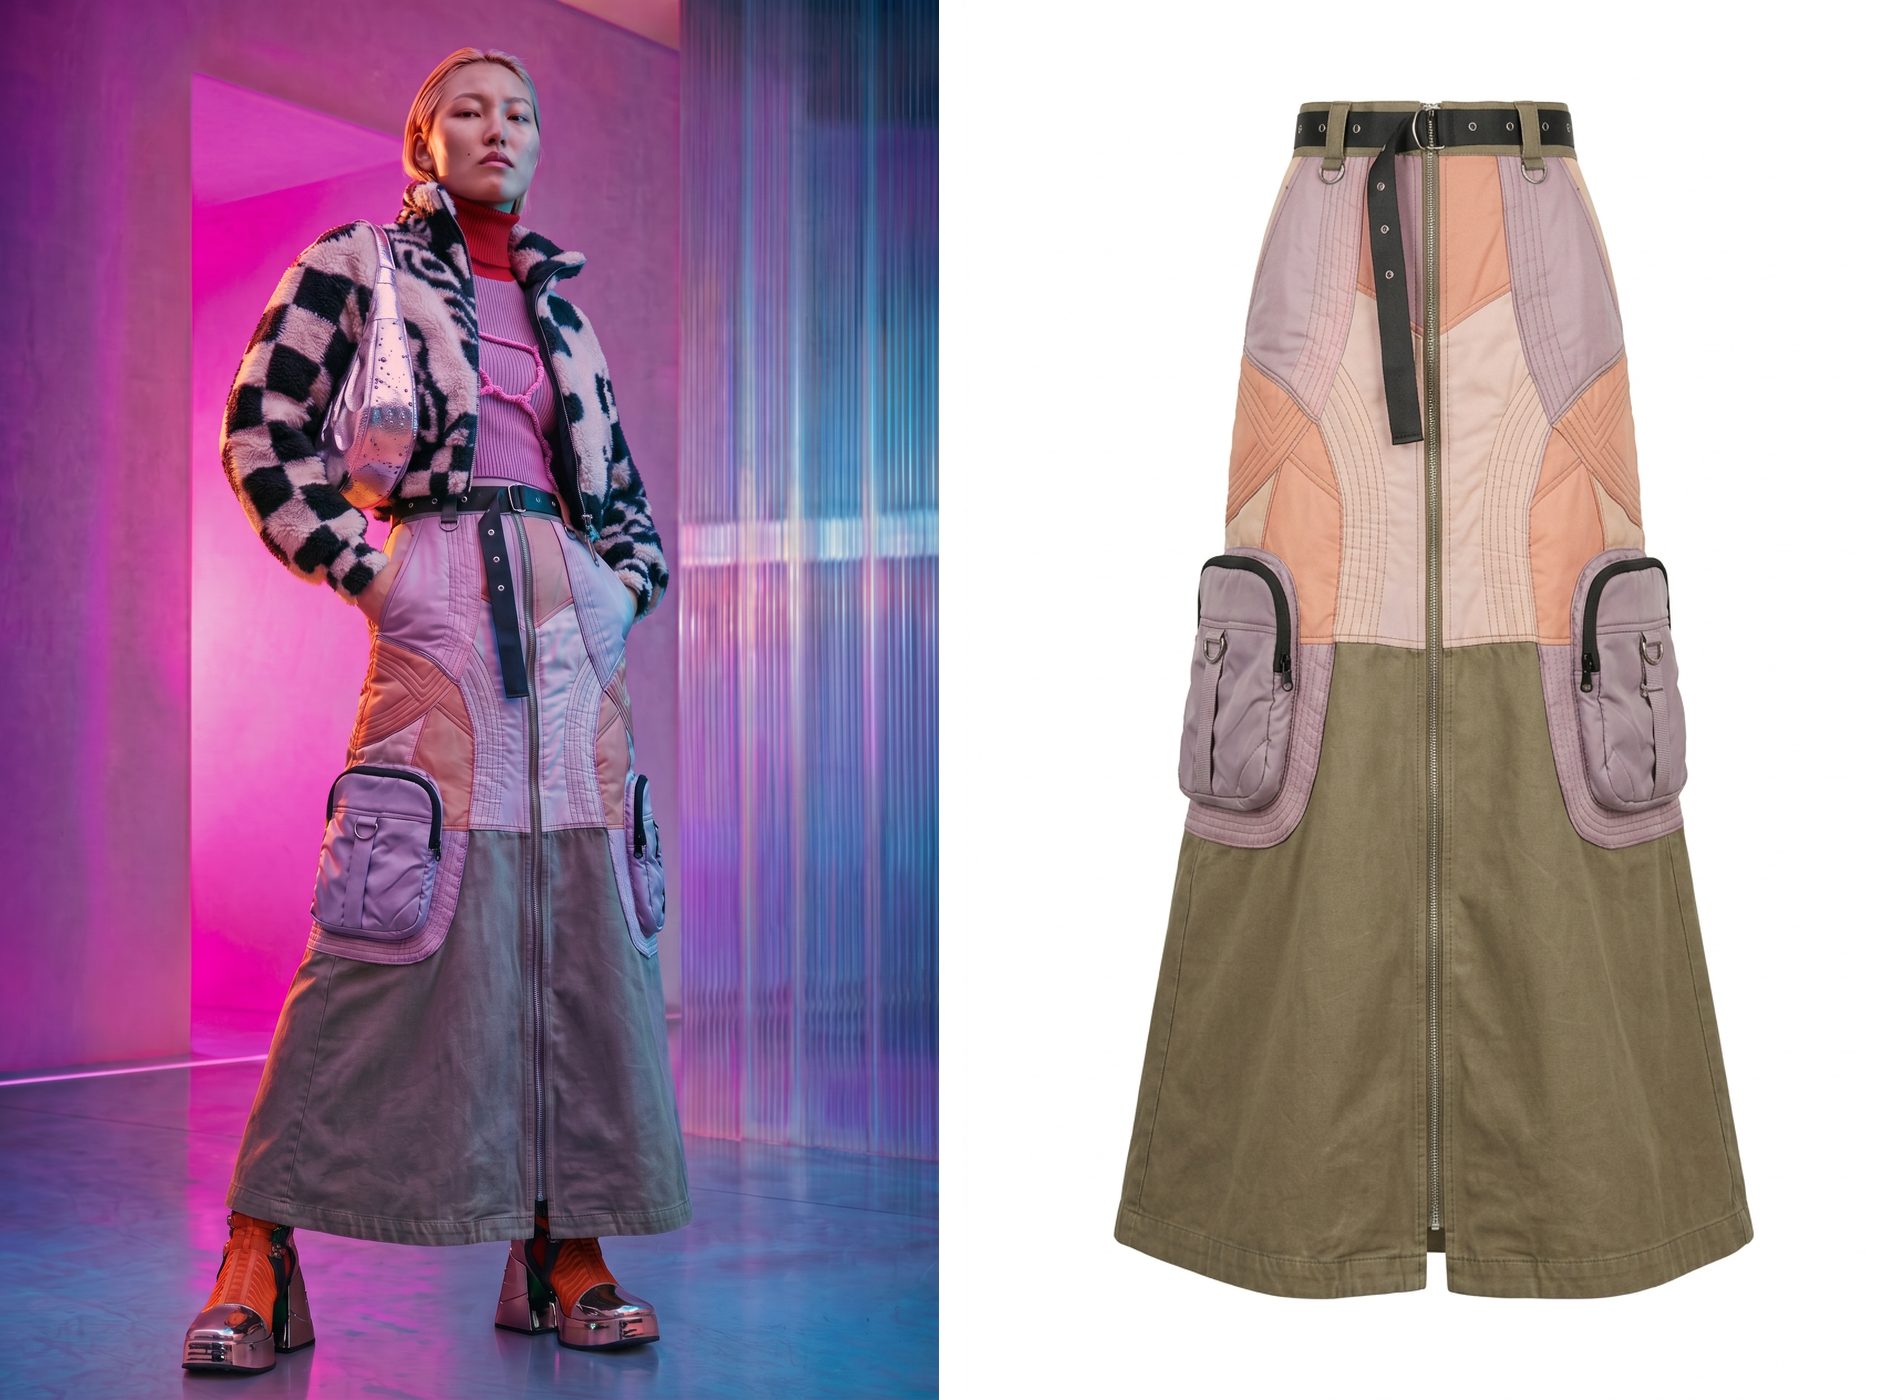
This post shows how it works, three of the jobs designers use it for most, and why every request comes back as option A and option B. Every image below was made in the Assistant from one uploaded photo, in one conversation.
No. The reason most AI image tools frustrate designers is that the result depends on how well you write the prompt. A good edit instruction names what is in the image, states the one change, lists everything that must stay the same and sets the right quality mode. Most designers do not want to learn that. They want to say "make the skirt ankle length" and get an ankle-length skirt.
The Assistant writes that instruction for you. You type the change the way you would say it to a colleague. The Assistant reads your image, works out which tool fits, fills in the full instruction and runs it in high quality.
Typing a prompt into a tool versus asking the Assistant
Open the Assistant from the top right of the platform, or at app.thefabricant.com/pages/assistant.
If you are not sure where to start, click Examples under the prompt box. The sample image and the request are filled in for you, and you can swap the sample for your own image.
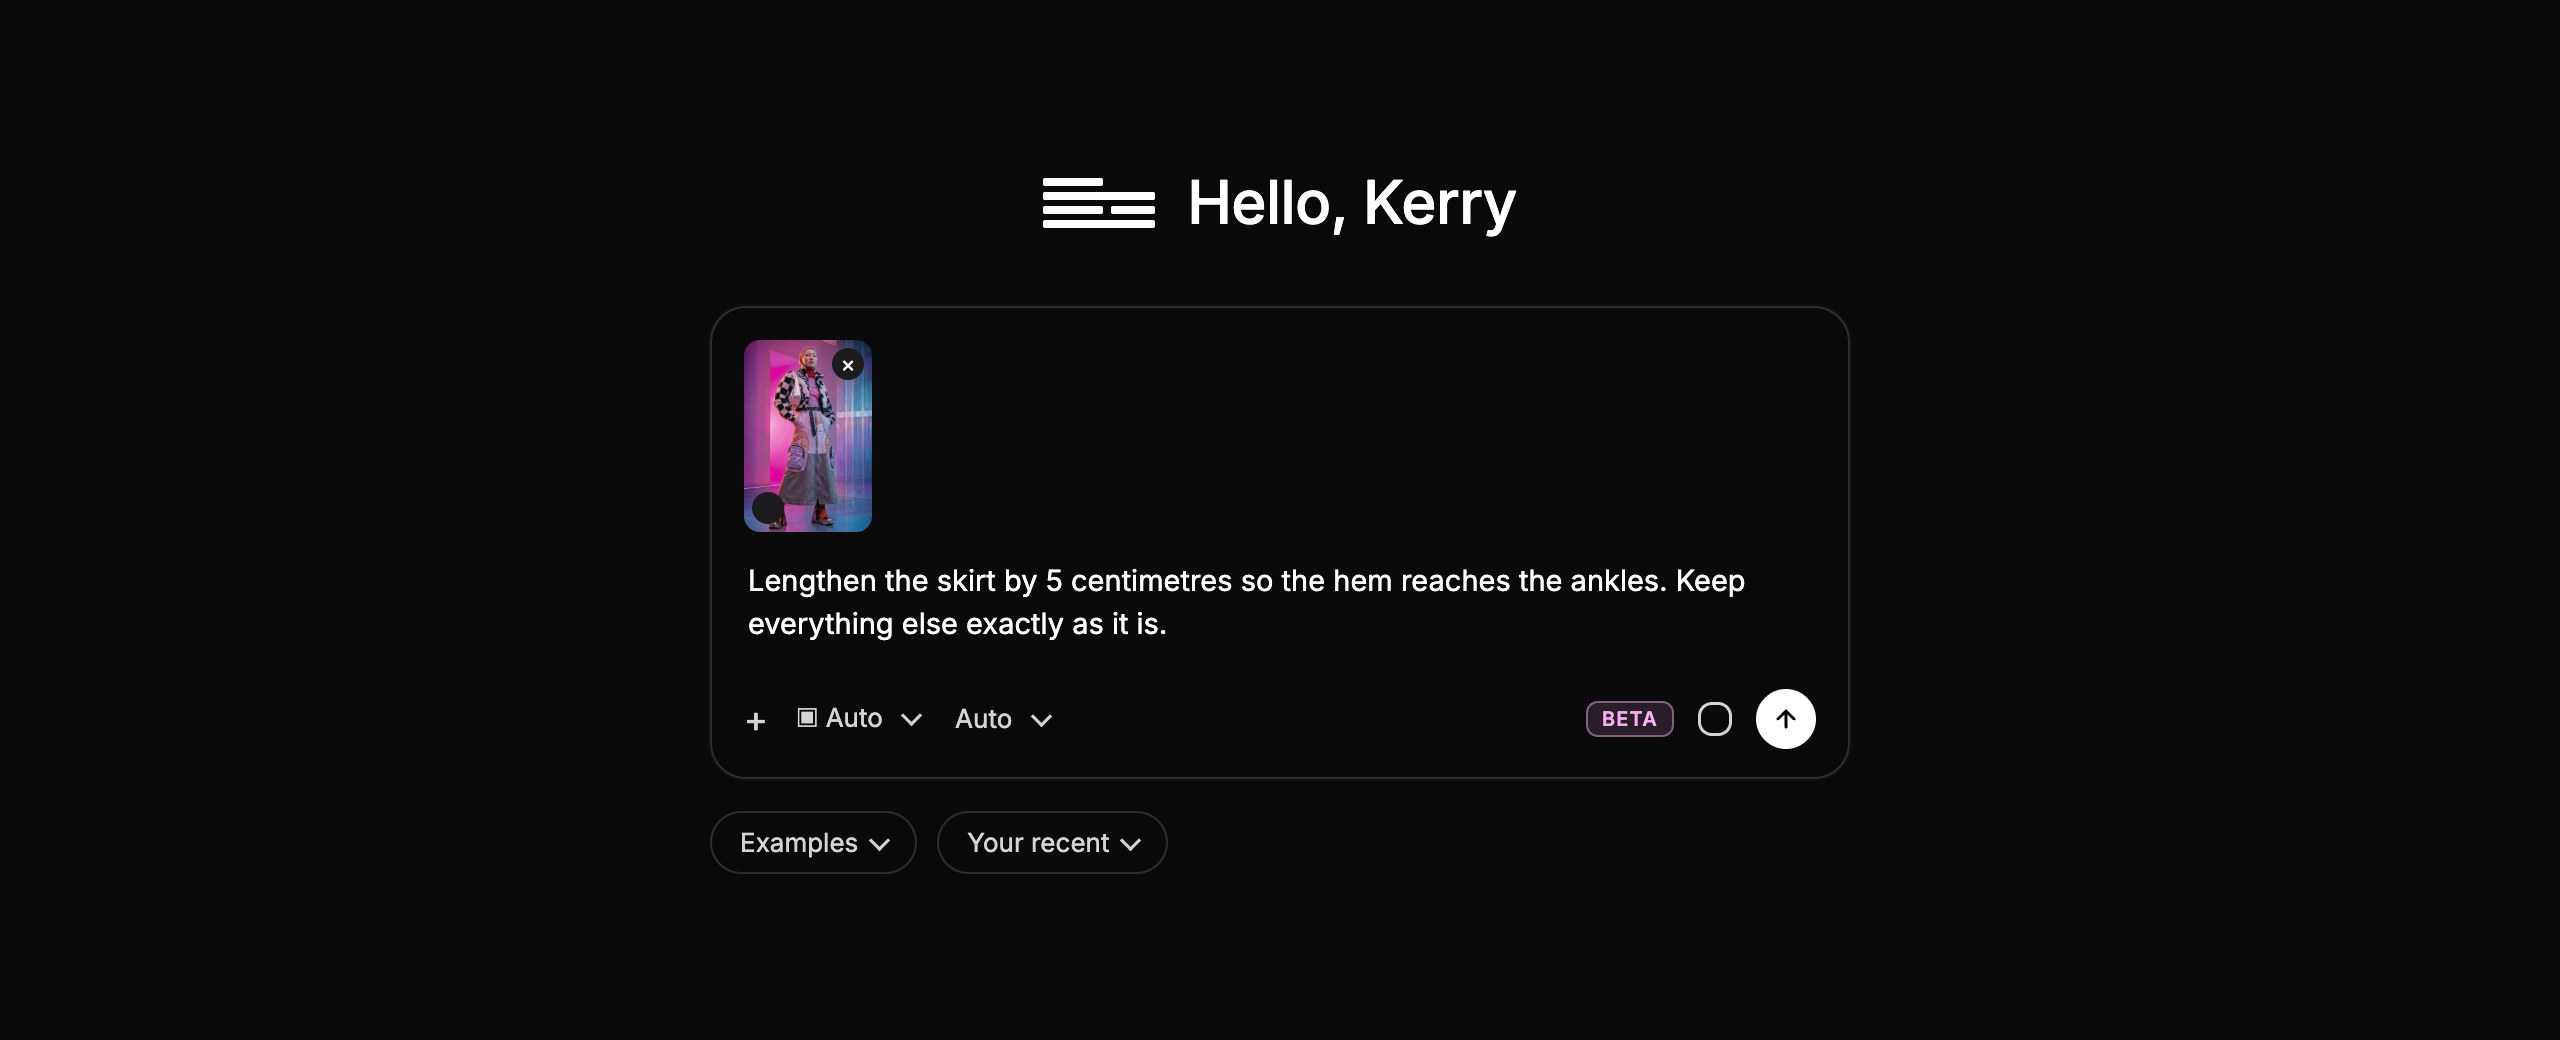
Attach the image and tell the Assistant the new length in words a person would use: ankle length, cropped at the waist, three-quarter sleeves, a cuff half as tall. You get two results, and one of them comes from a route that handles length and proportion changes especially well.
Length is the change designers ask for most and the one standard image tools get wrong most. A hem comes back untouched, or the whole garment is redrawn. The Assistant handles hems, cuffs, sleeve length, shirt length, skirt length and dress length from one sentence.

Tip: describe the length you can see, not only a measurement. "Two centimetres shorter" is smaller than the image can show. "Down to the ankles" or "cropped at the hip" gives the Assistant something to work with. If you want a measurement in the request, pair it with the visible target, as we did.
Attach the render and type "make this 3D render realistic". The Assistant asks what the fabric is, because the fabric decides how the garment creases, drapes and catches light. Answer in a few words, or attach a photo of the real fabric, and it re-photographs the garment as a real product with the design unchanged.
A render from your 3D software shows the design but not the garment. The surface is too smooth, the folds too even, the light too clean. For a line sheet, a buyer meeting or an e-commerce placeholder before the sample arrives, you need it to read as a photograph.

Tip: the fabric answer is what makes the difference. Real poplin creases, real fleece has a loop texture, real rib stretches at the cuff. Name the fabric and the Assistant adds the imperfections that fabric has in a photograph.
Attach one garment image and list the colours you want, one line per colourway, with a hex code for each zone. The Assistant recolours the garment zone by zone and leaves belts, zips, stitching and prints alone. Four colourways from one upload and one message.
A colourway is not "make it green". It is a specific colour on each panel with the trims left exactly as they are. Designers run these in series from the same base image, and the Assistant does the series in one request.
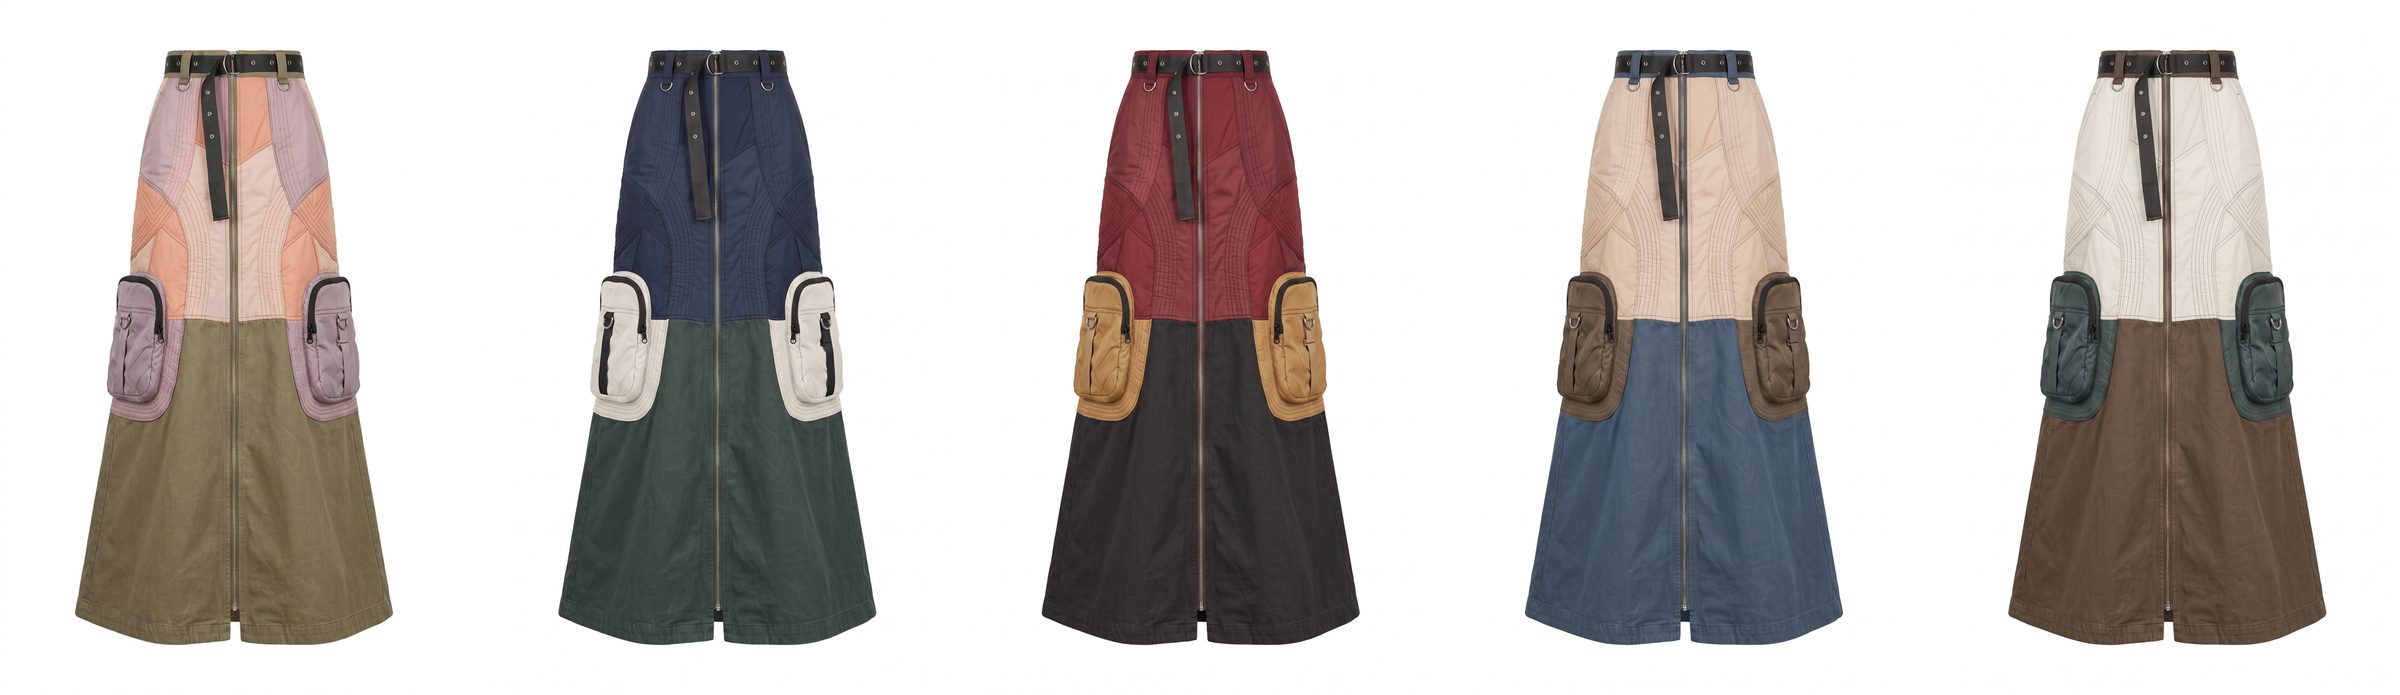
Tip: give the hex code and a plain colour word together, for example "#6C5948, a muted cool brown, not orange". Name every zone you care about, and name the details that must not change. Zones you do not mention are left to the Assistant's judgement.
Every request comes back as two images. They are not two random variations. The Assistant runs your request through two different image routes, and each route is better at different kinds of change. One of them, for example, handles length and proportion changes better. Which route is A and which is B changes from request to request, so there is no fixed letter to pick. Compare both against your reference and choose the closer one.

Your choice does more than select an image. Each time you pick A or B, the Assistant records which route gave the better result for that kind of request, and those choices are used to improve the results you get. The more you use it, the better it gets at matching your type of request to the right route. That is what makes it an assistant rather than a tool: it learns which answer you wanted.
If you came here looking for fashion prompts, you can skip them. The Assistant writes the prompt. A prompt still helps in one case: when you know exactly which tool and settings you want, open that tool directly. For everything else, one sentence in the Assistant is enough.
The three use cases above are the most common, but the Assistant handles the rest of the design workflow in the same way, and every step starts from the image you kept before it.
The Assistant is part of The Fabricant platform and uses the credits of your plan. A result costs the same as running the tool directly.
No. Type the change in a plain sentence. The Assistant writes the full instruction and shows you what it is about to do before it runs.
Yes. Your previous image stays attached in the thread, so each change starts from the result you picked.
Your choice tells the Assistant which route worked for that kind of request, and it uses those choices to improve your results.
The Assistant is in beta and improves every day. Attach an image, type what you need, and pick the result you like.