Compression artifacting is the loss of detail, banding and noise that creeps into an image after it has been edited and re-saved repeatedly. It happens in almost every image editor, and The Fabricant Intelligent Tools are no exception. The good news: there are several fast ways to restore quality when artifacting starts to appear.
Timing matters. When you generate many edits of the same image, each pass can compound the degradation. Cleaning the image up at the right moment keeps your whole workflow high quality. Below are three methods, from easiest to most advanced.
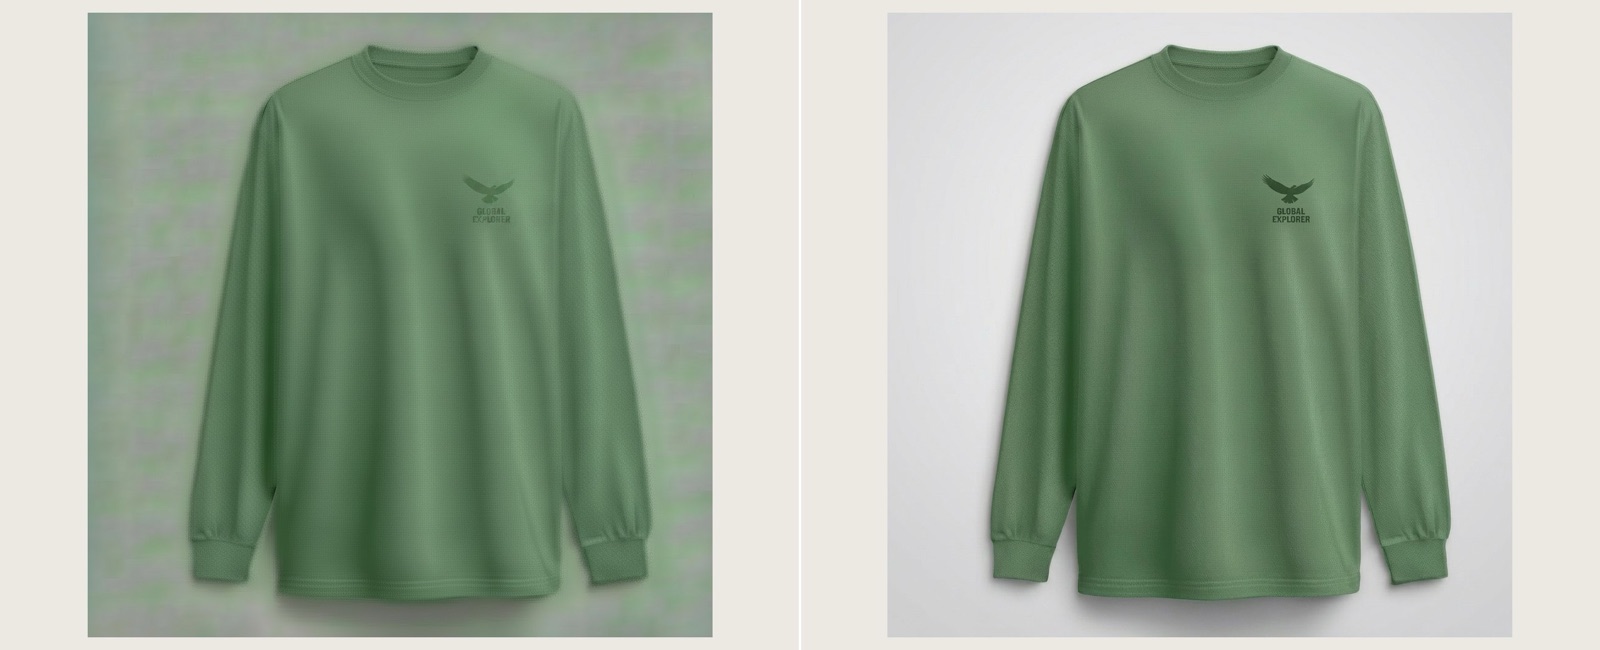
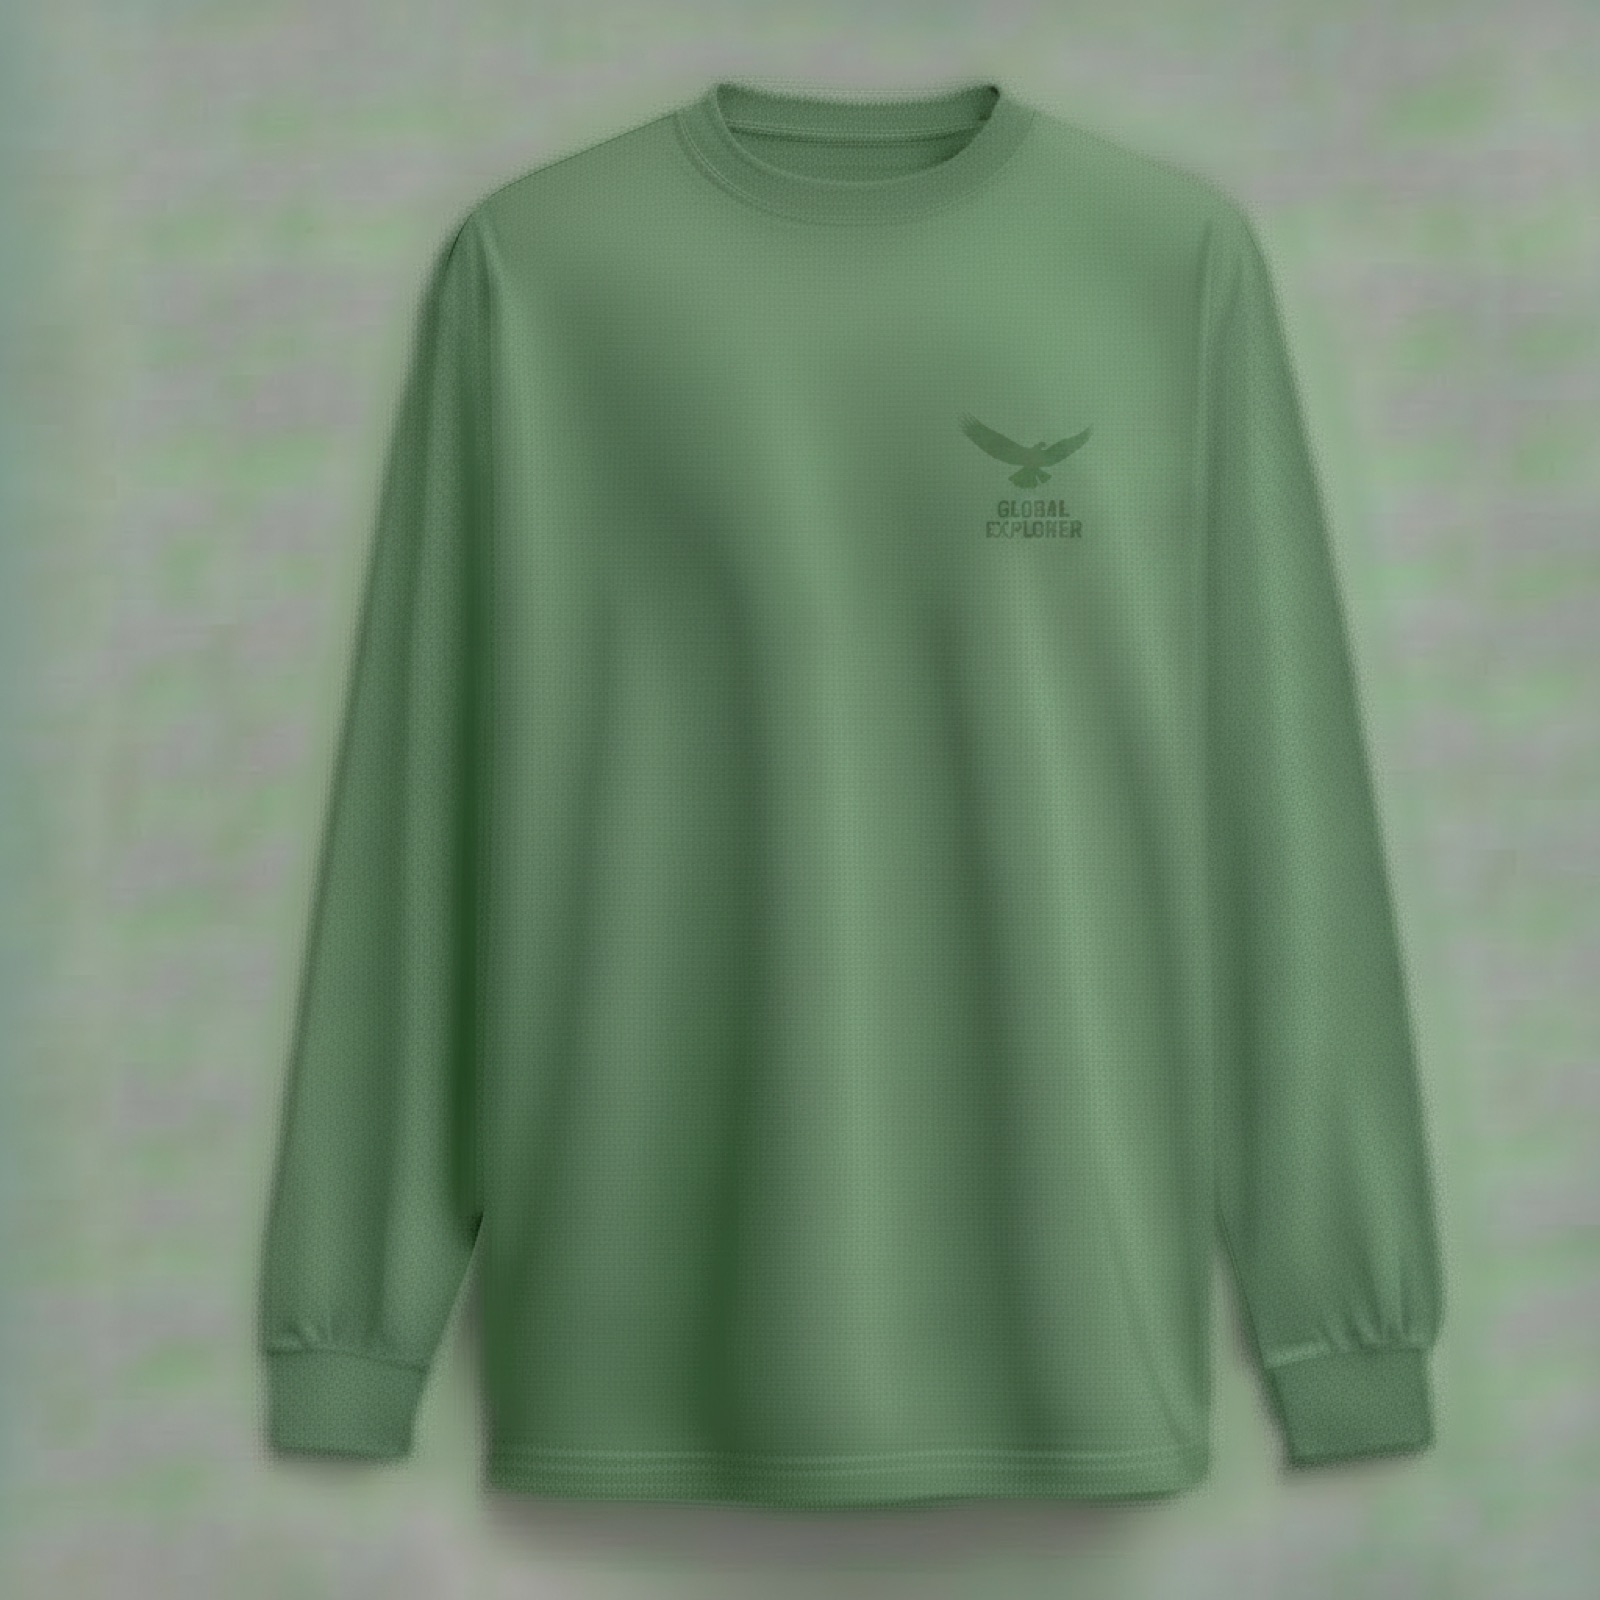
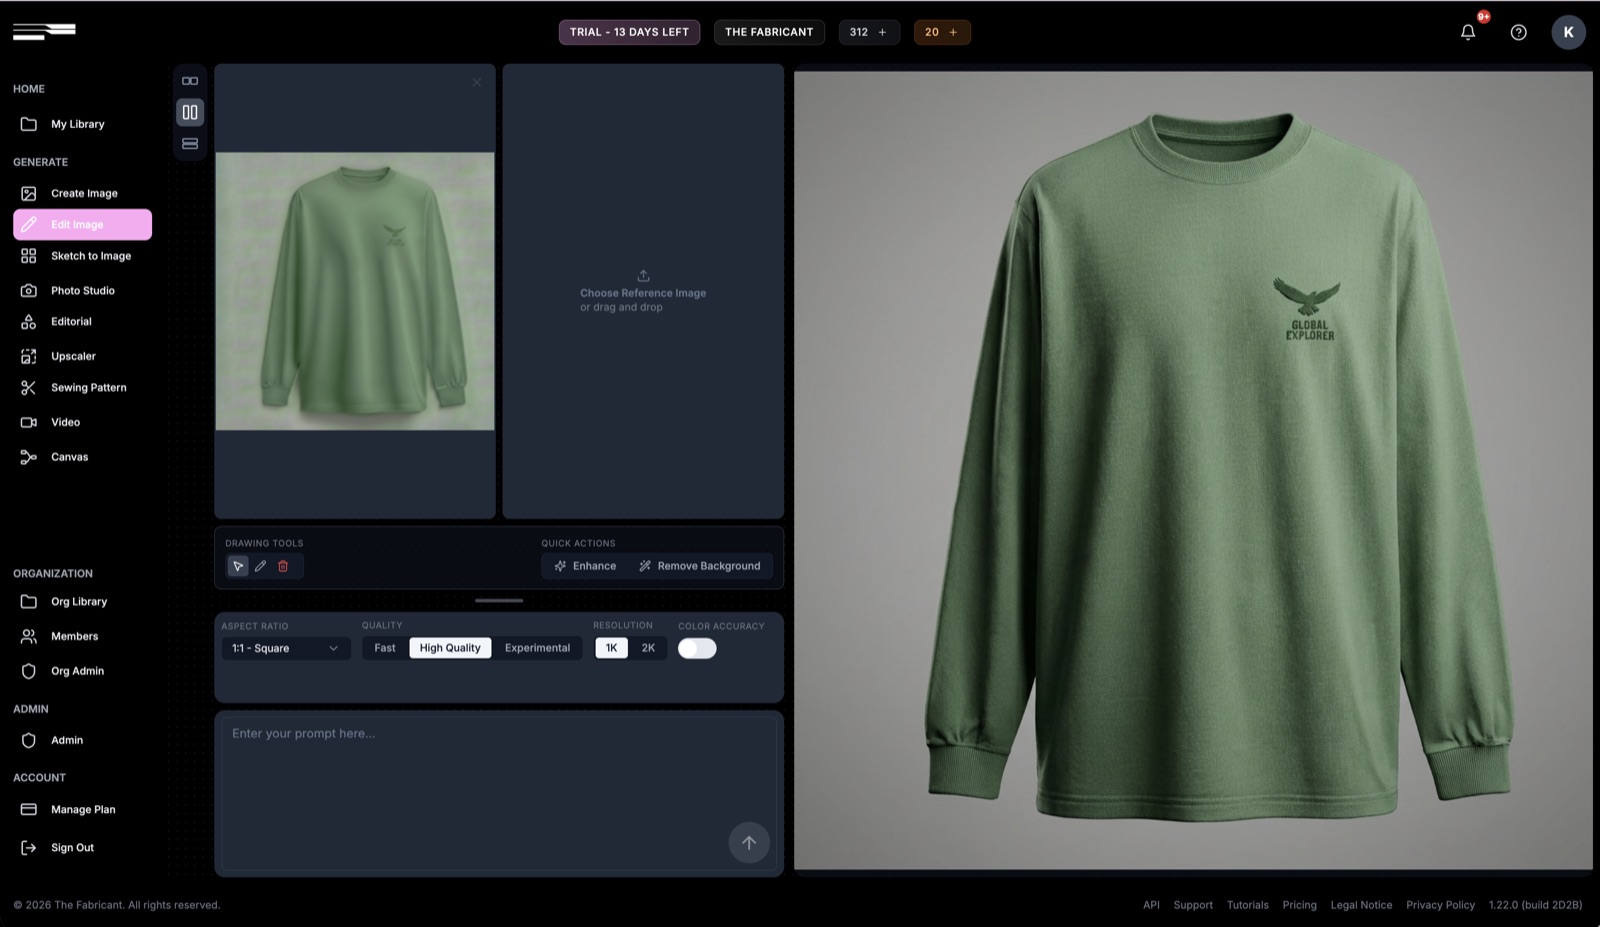
This image has started to show prominent compression artifacting. After editing the logo several times, the rest of the garment has degraded in the process - the fabric looks noisy and the background has broken up.
Tool: Edit Image | Level: Easy
The quickest fix is the Edit Image tool. Add a short prompt such as "Sharpen image and remove image artifacting / compression", switch the quality setting to High Quality, and set the resolution to 2K. Then generate.
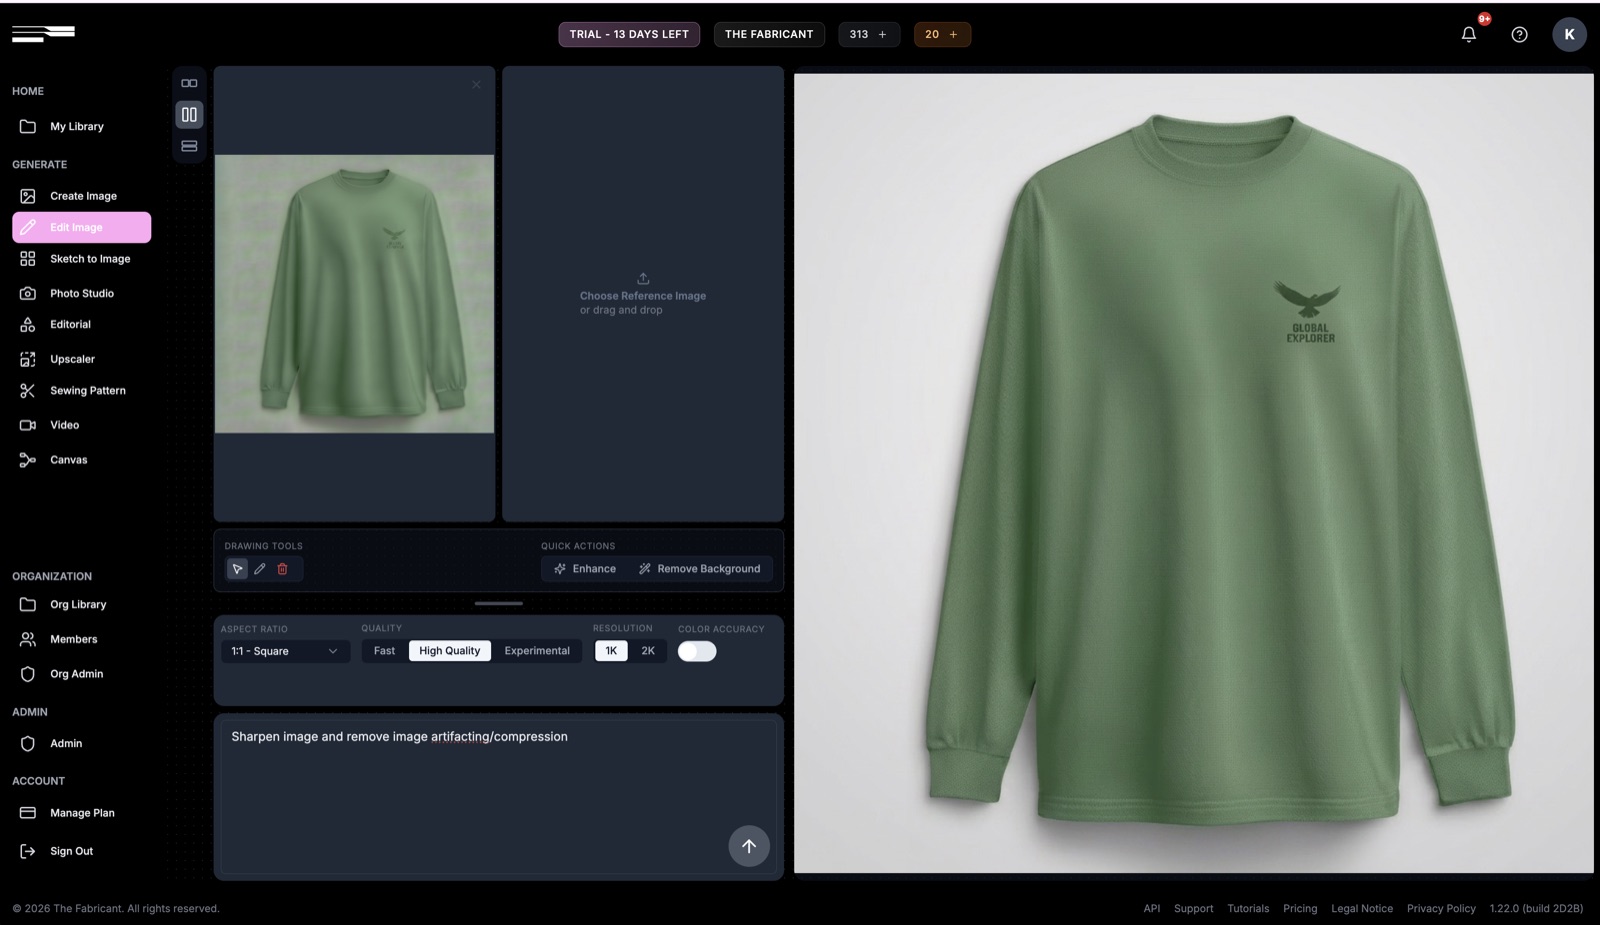
Tip: results can depend on the type of image, so adjust the prompt as needed. Many images come out best generated at 1K first, then sent to the Upscaler (below) to reach 2K or 4K.
Tool: Enhance (Edit Image) | Level: Easy
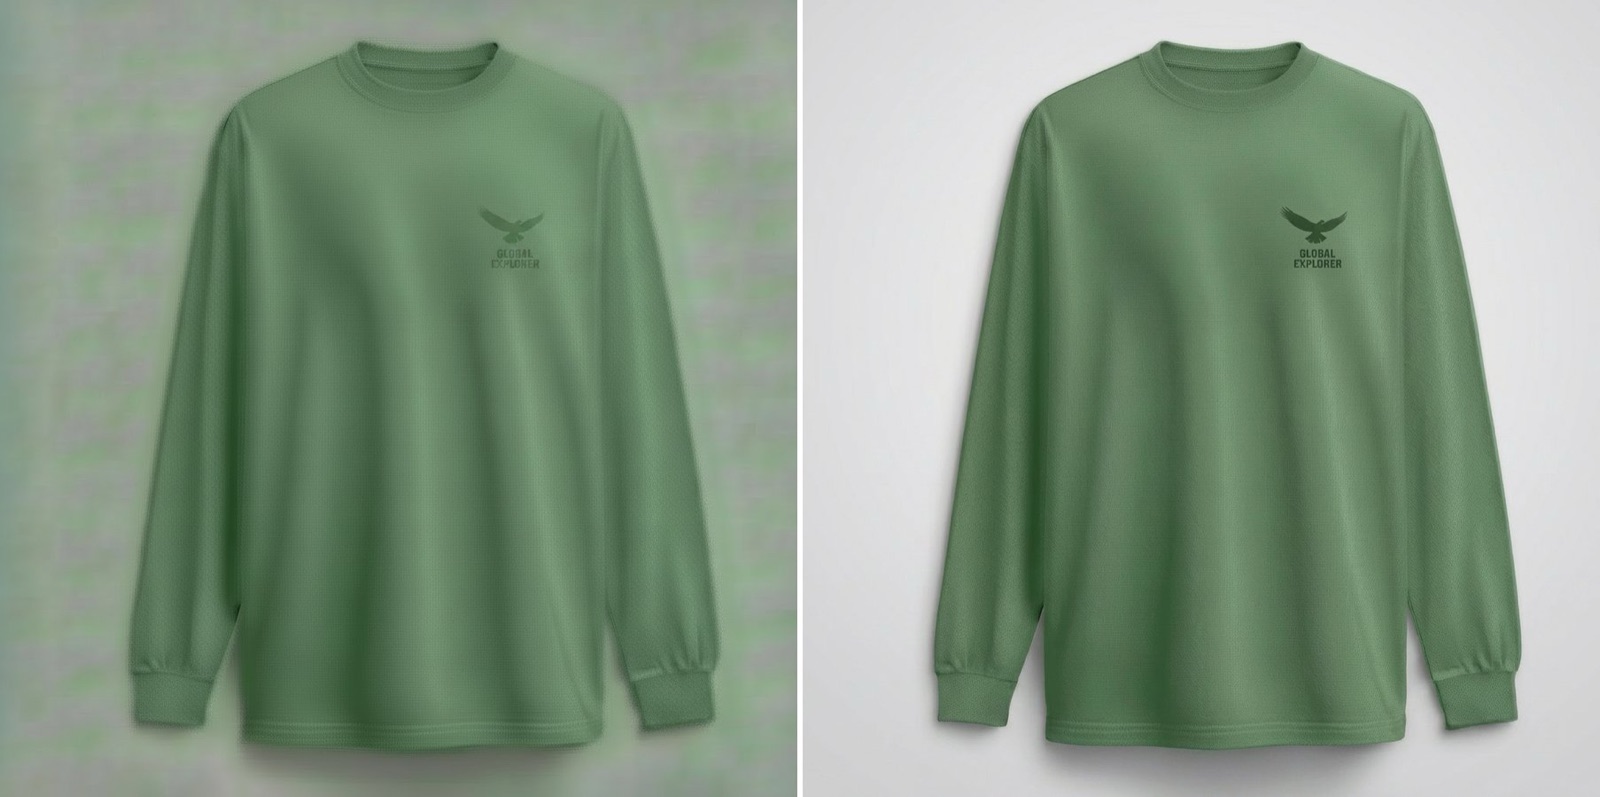
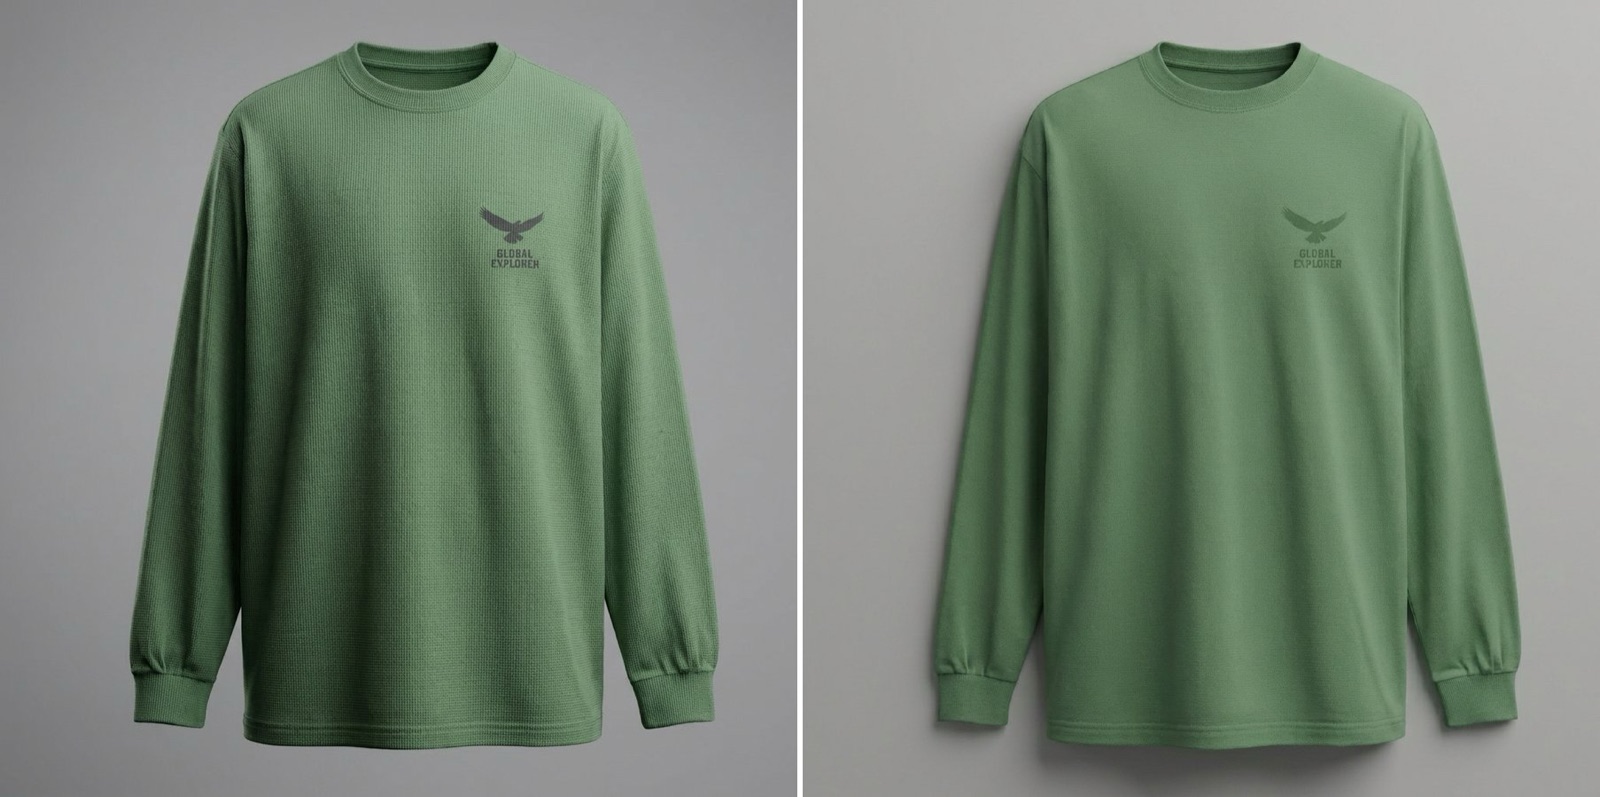
The Enhance button cleans up an image with no prompt at all and produces high-quality results. Because it works unguided, it may imagine new details - in this case it added higher lighting contrast and a stronger interpretation of the fabric.
To stay closer to the original, guide the Enhance with a short text prompt describing the material. Adding the material properties returns a far more accurate result.
Tool: Upscaler | Level: Intermediate
The Upscaler increases resolution and can remove compression artifacting in many cases. Add an optional prompt such as "sharpen image and reduce image compression / artifacting" to steer the result.
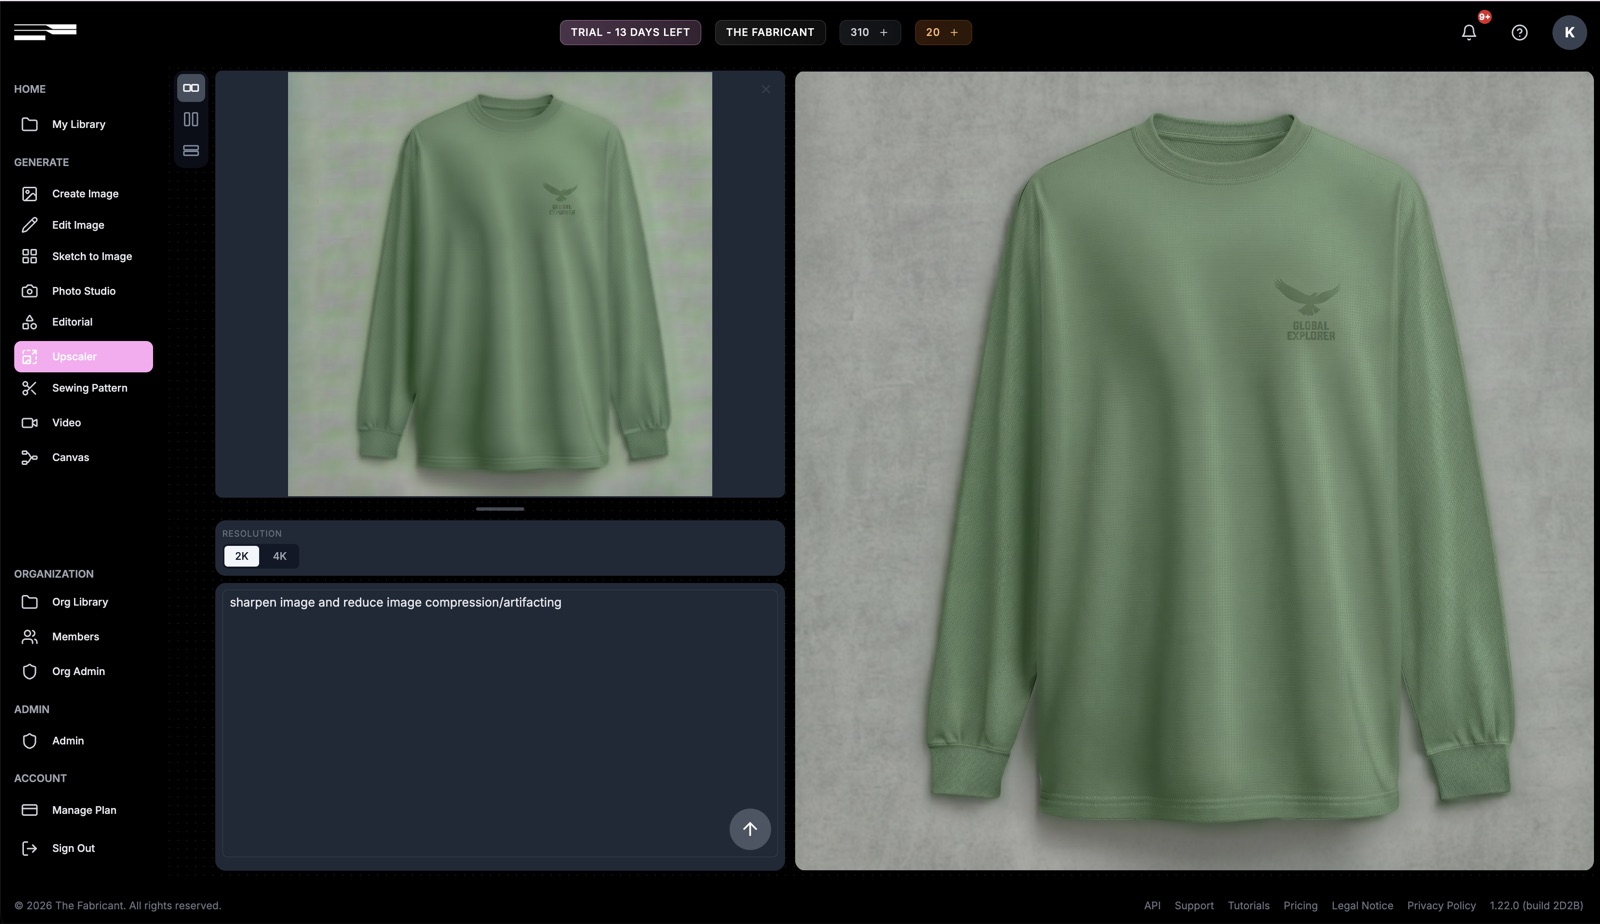
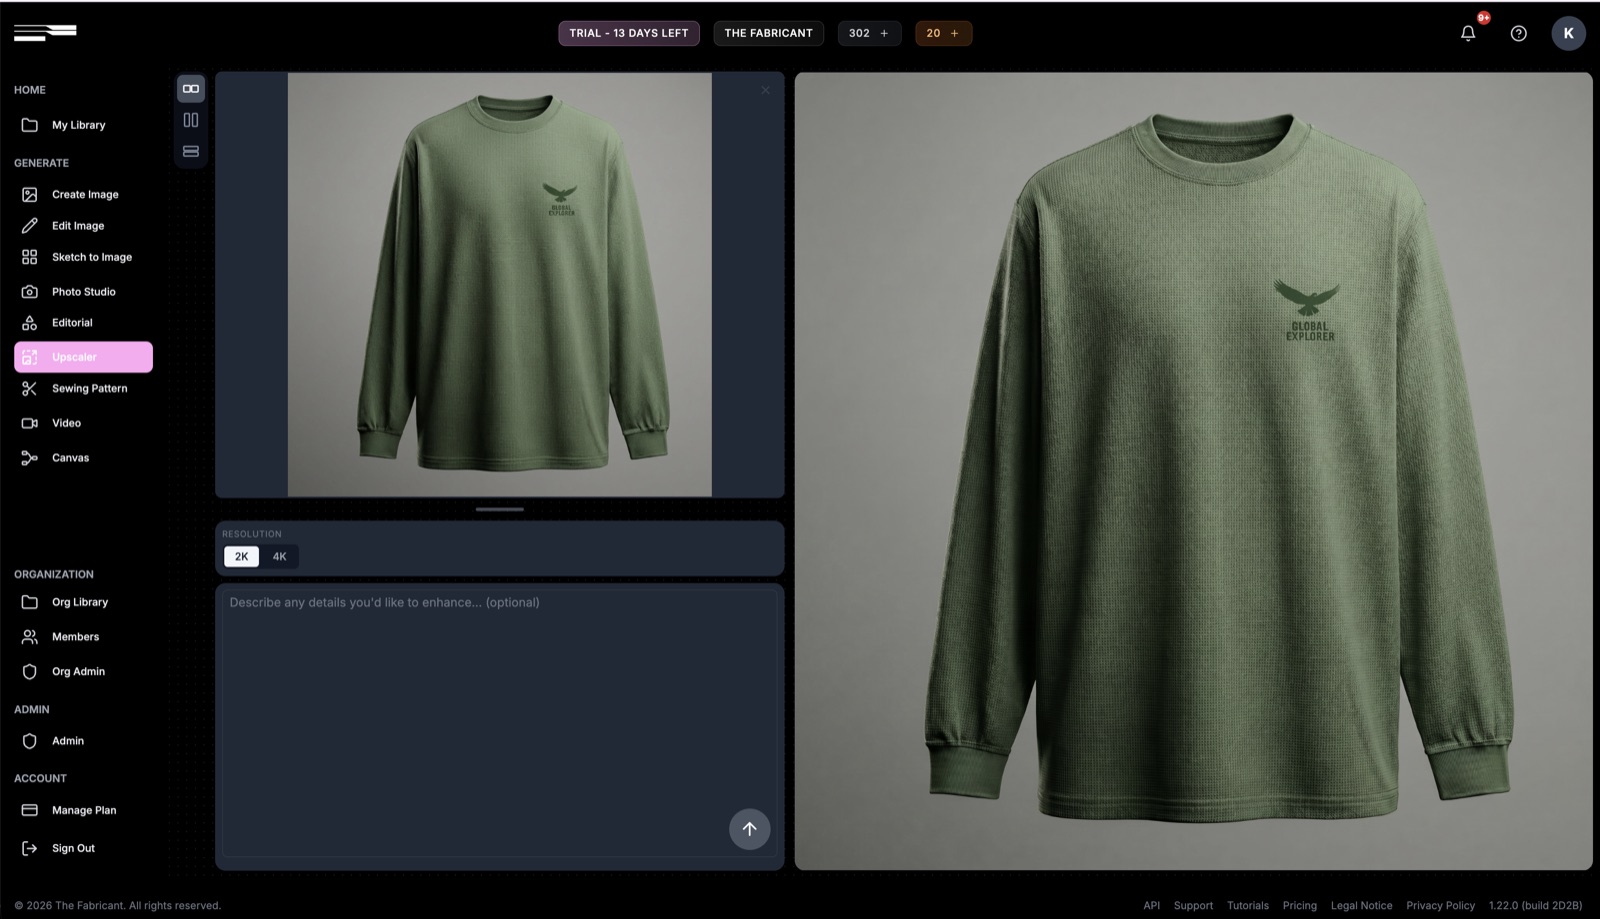
Important: use the Upscaler after the previous methods, not before. On images with heavy artifacting it will only strengthen the existing artifacts - which is exactly why it pays to clean images up periodically as you work.
The single biggest quality win is timing: clean up an image before artifacts compound, not after. Reach for Edit Image at High Quality and 2K or the Enhance button early, and save the Upscaler for the final resolution boost once the image is already clean.
Ready to try it? Open the Edit Image, Enhance and Upscaler tools in The Fabricant Intelligent Tools and keep every edit at full quality.