Download the 3D Enhancer workflow (.json) →
Import it straight into Canvas to start from the exact node setup shown in this guide.
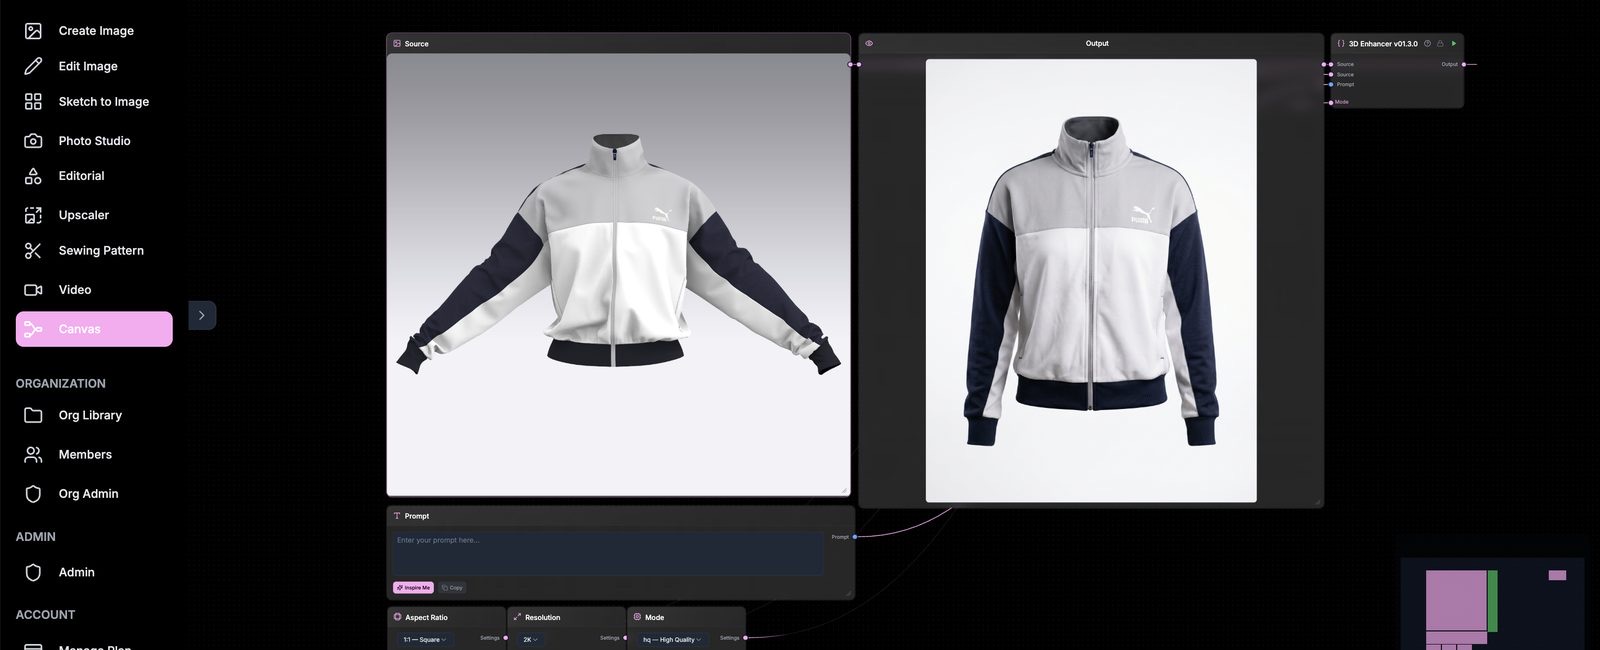
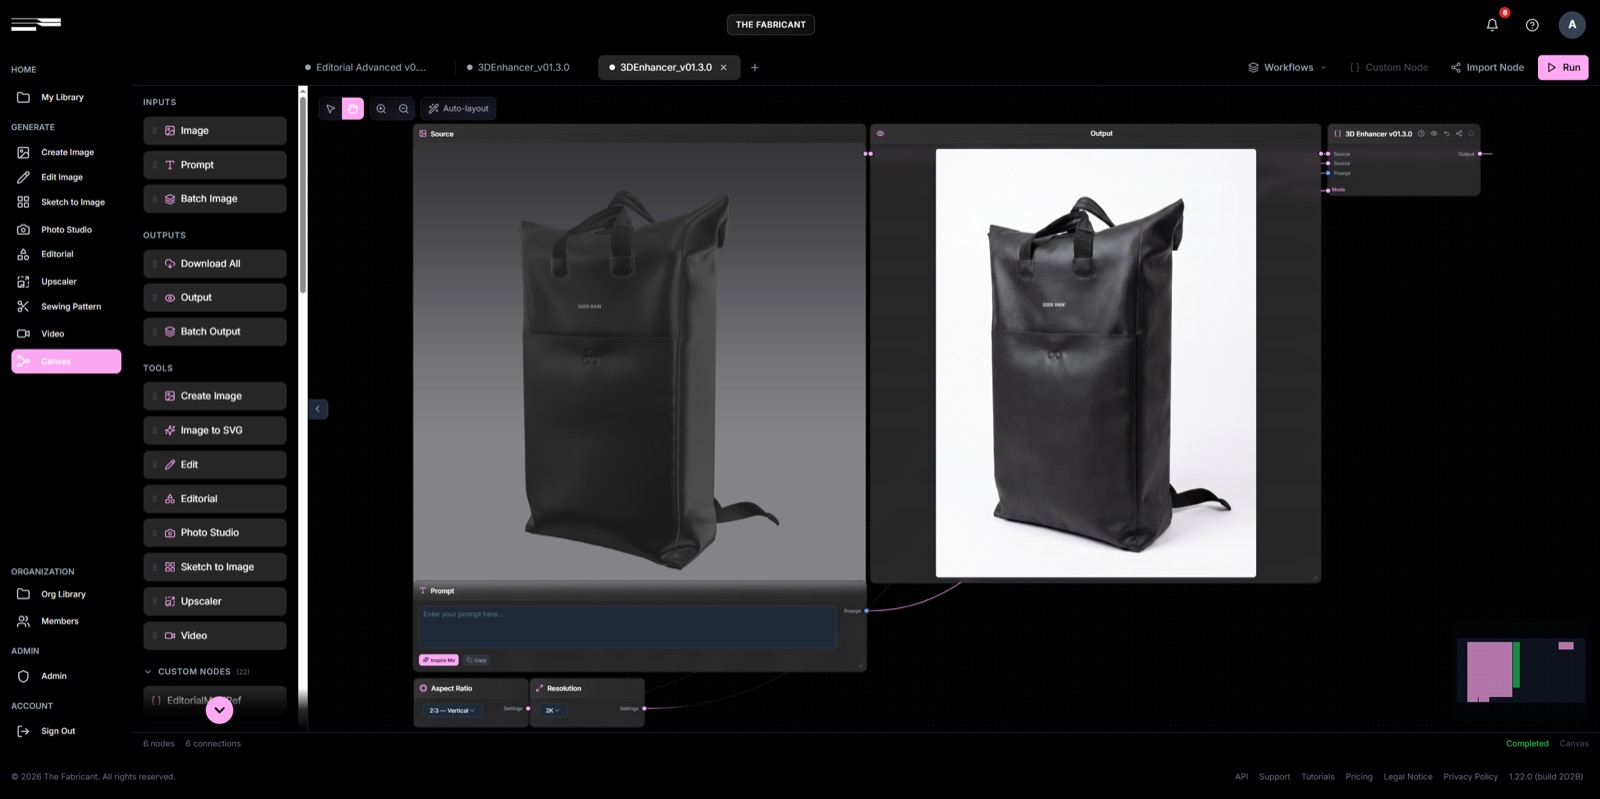
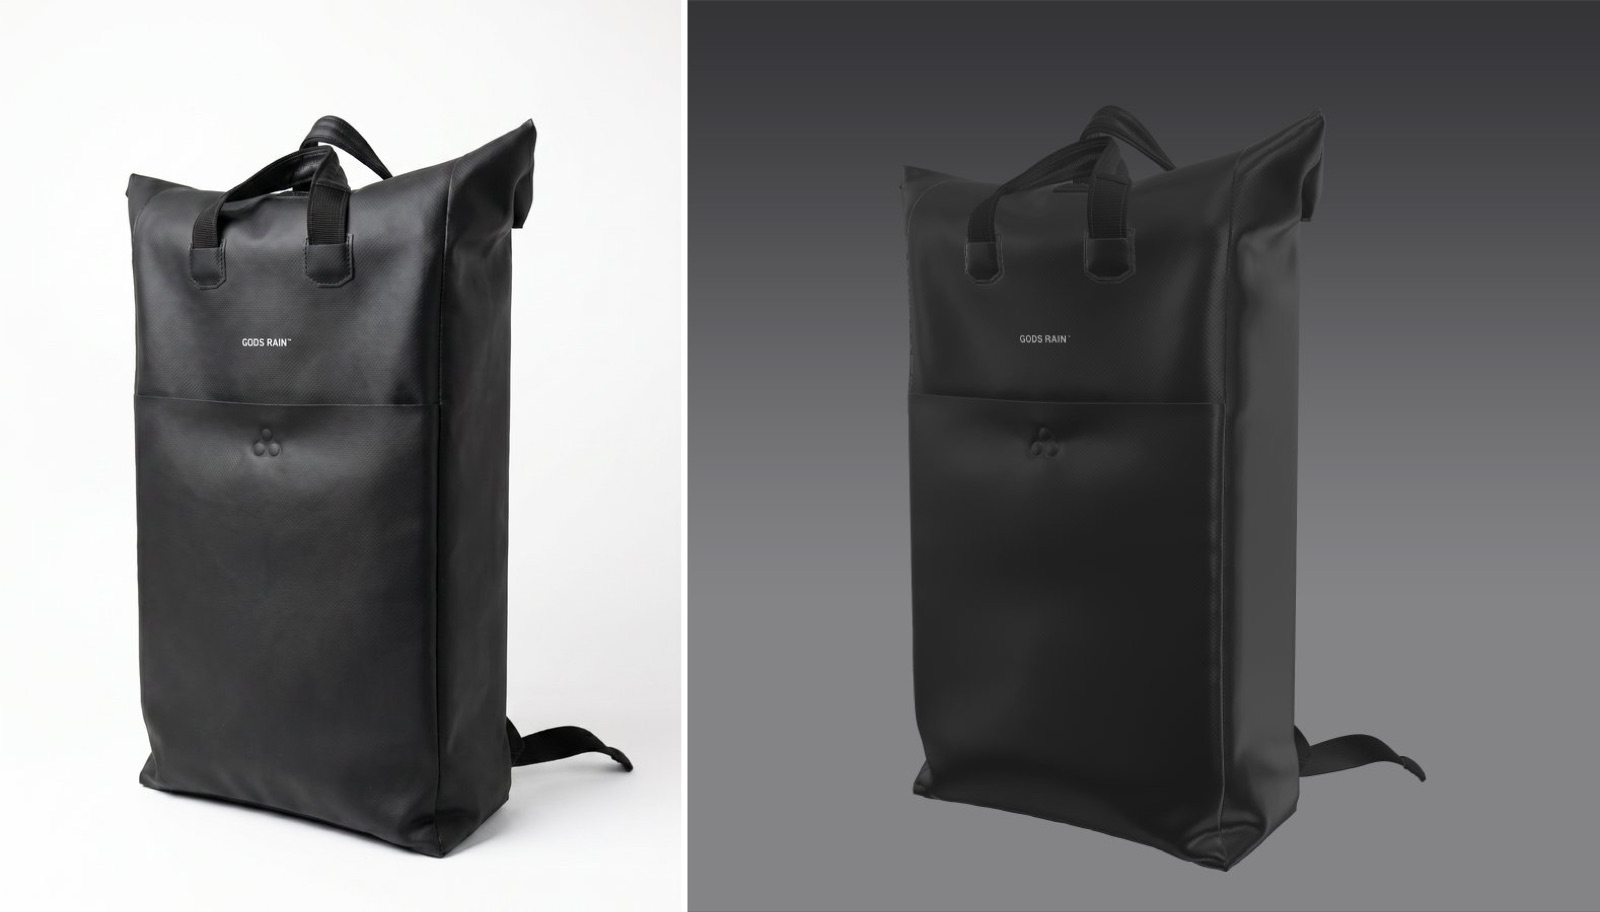
3D Enhancer is a custom Canvas node in The Fabricant's Intelligent Tools that turns raw 3D renders, product viewports or quick screenshots into high-fidelity, production-grade visuals. Feed it a flat 3D asset and it returns photoreal lighting, texture and material definition in 30 to 40 seconds, work that used to take hours, if not days.
3D Enhancer elevates flat 3D outputs into finished product imagery. It reads the shapes, fabrics and colours already in your render and rebuilds them with realistic lighting, material depth and crisp detail. It lives inside the Canvas workspace as a custom node, so it slots straight into your existing pipeline.
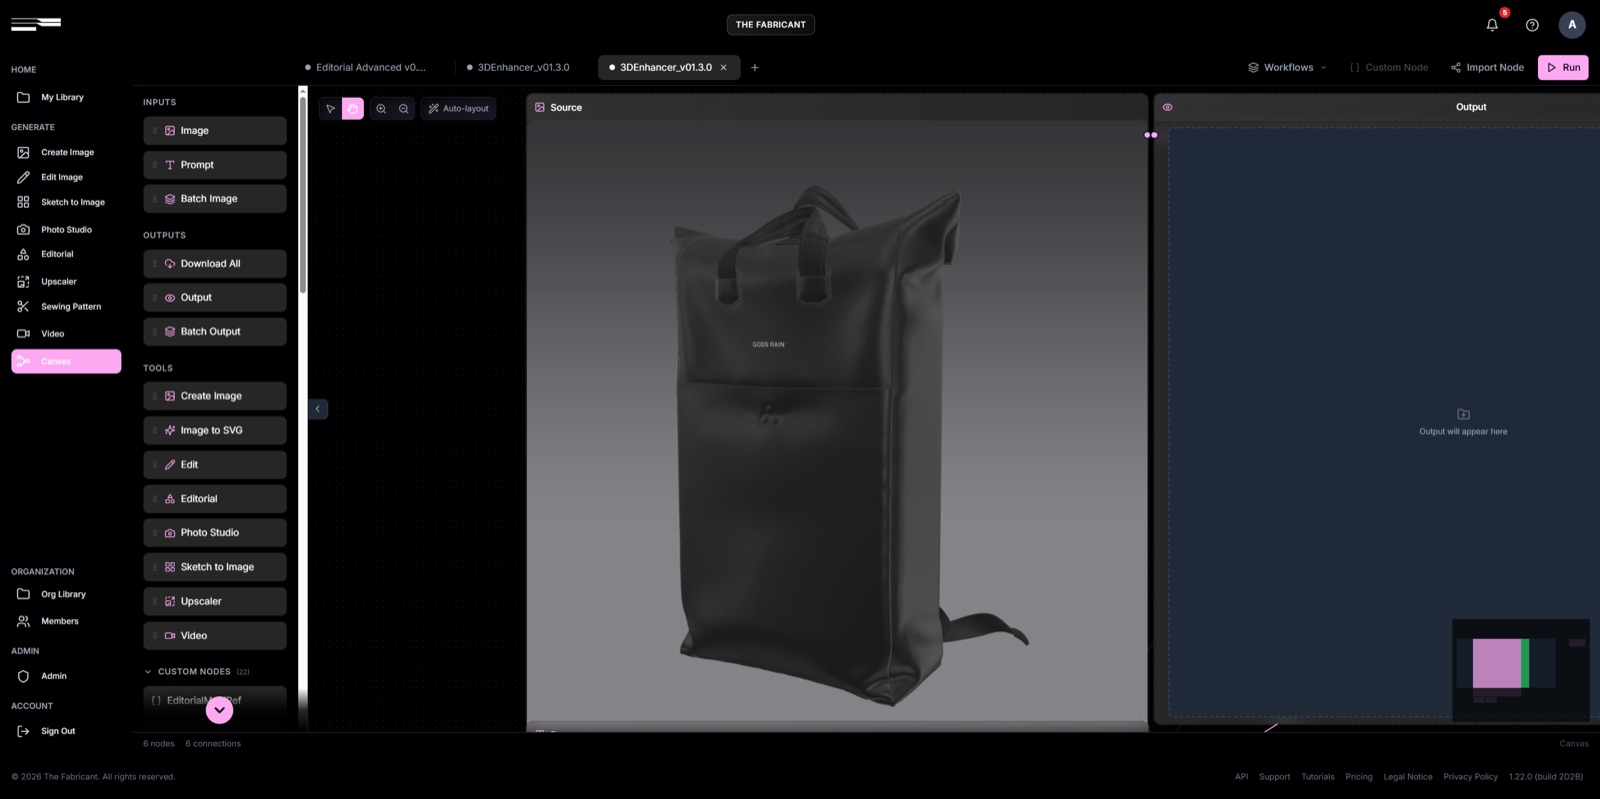
Drag the 3D Enhancer node into Canvas, connect your asset, and run. There is one required input and one optional one.
The Source slot is the foundational image the node processes, and the only input it needs to run. Upload a raw 3D model render or a quick viewport screenshot from your design software, whether garments, bags or accessories, then hit run.
Leave the Prompt slot empty and the node auto-enhances. Use it only to guide perspective or fix fine detail, for example calling out a small logo that reads blurry. There is no need to type "enhance this image", and the node will not swap materials or colours from text; it elevates what is already in your render.
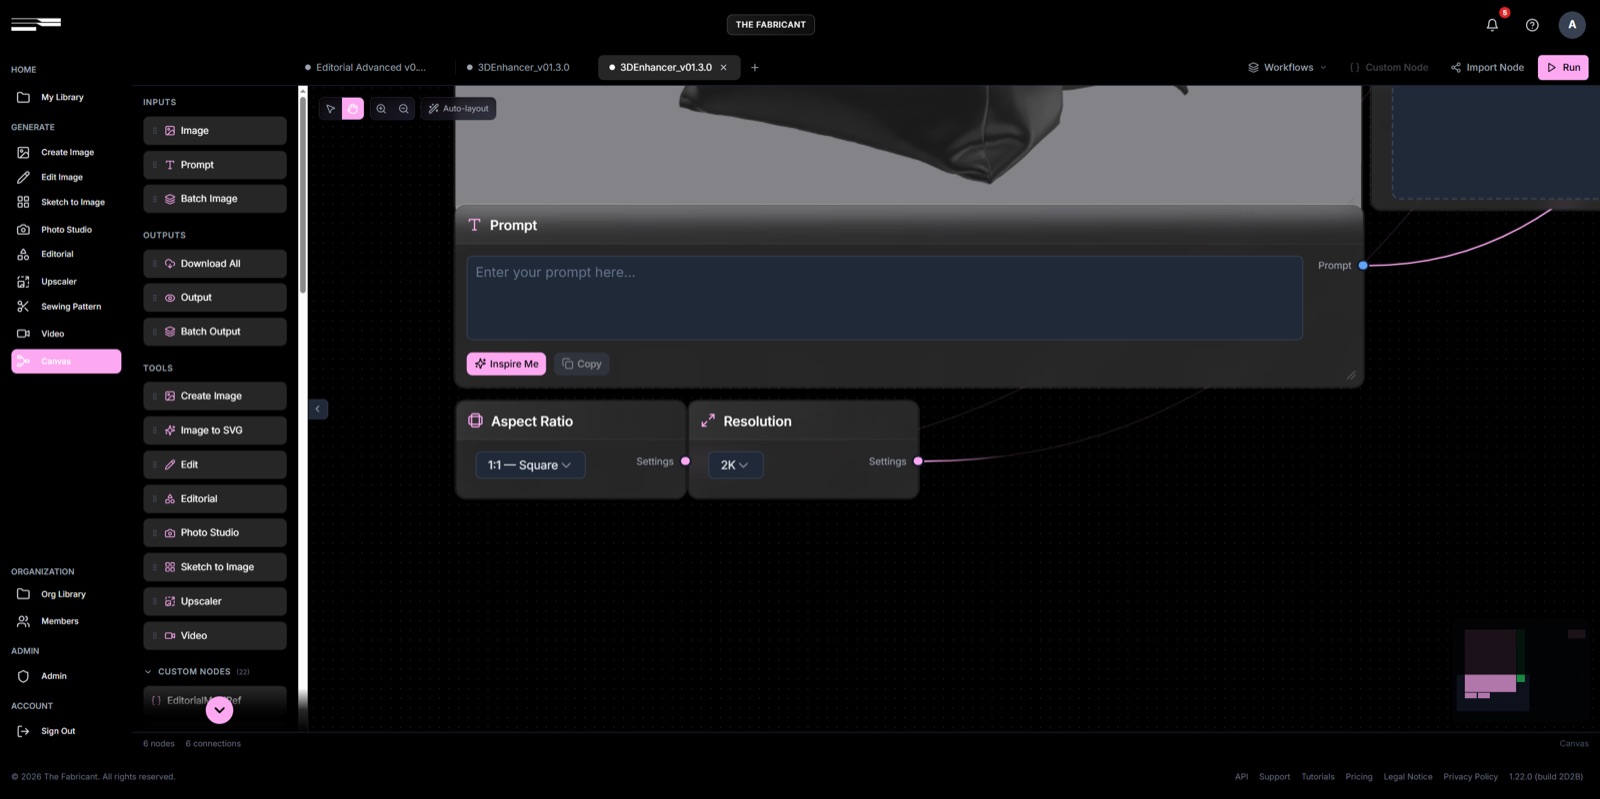
Set output Resolution up to 2K, and choose a Mode: Fast for quick iterations, HQ for campaign-ready depth. Fast mode does not support 2K, so switch to HQ for your final runs.
This is not new for us. Back in 2019, The Fabricant produced real product campaigns this way, turning quick 3D screenshots into high-quality renders in 30 to 40 seconds, work that traditionally took hours or days. 3D Enhancer puts that same capability in your hands.
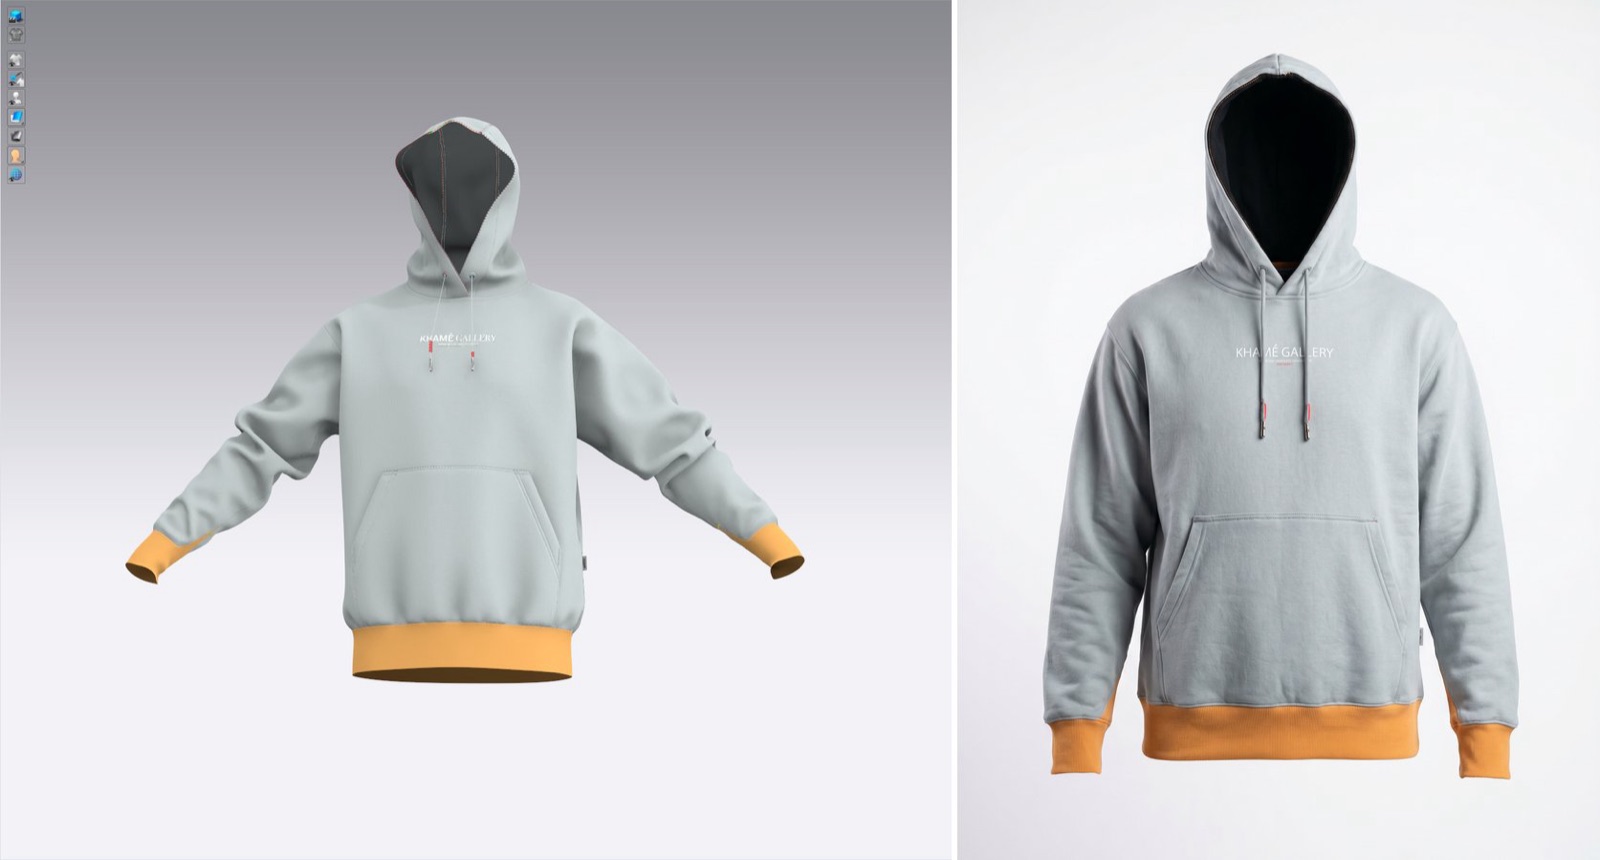
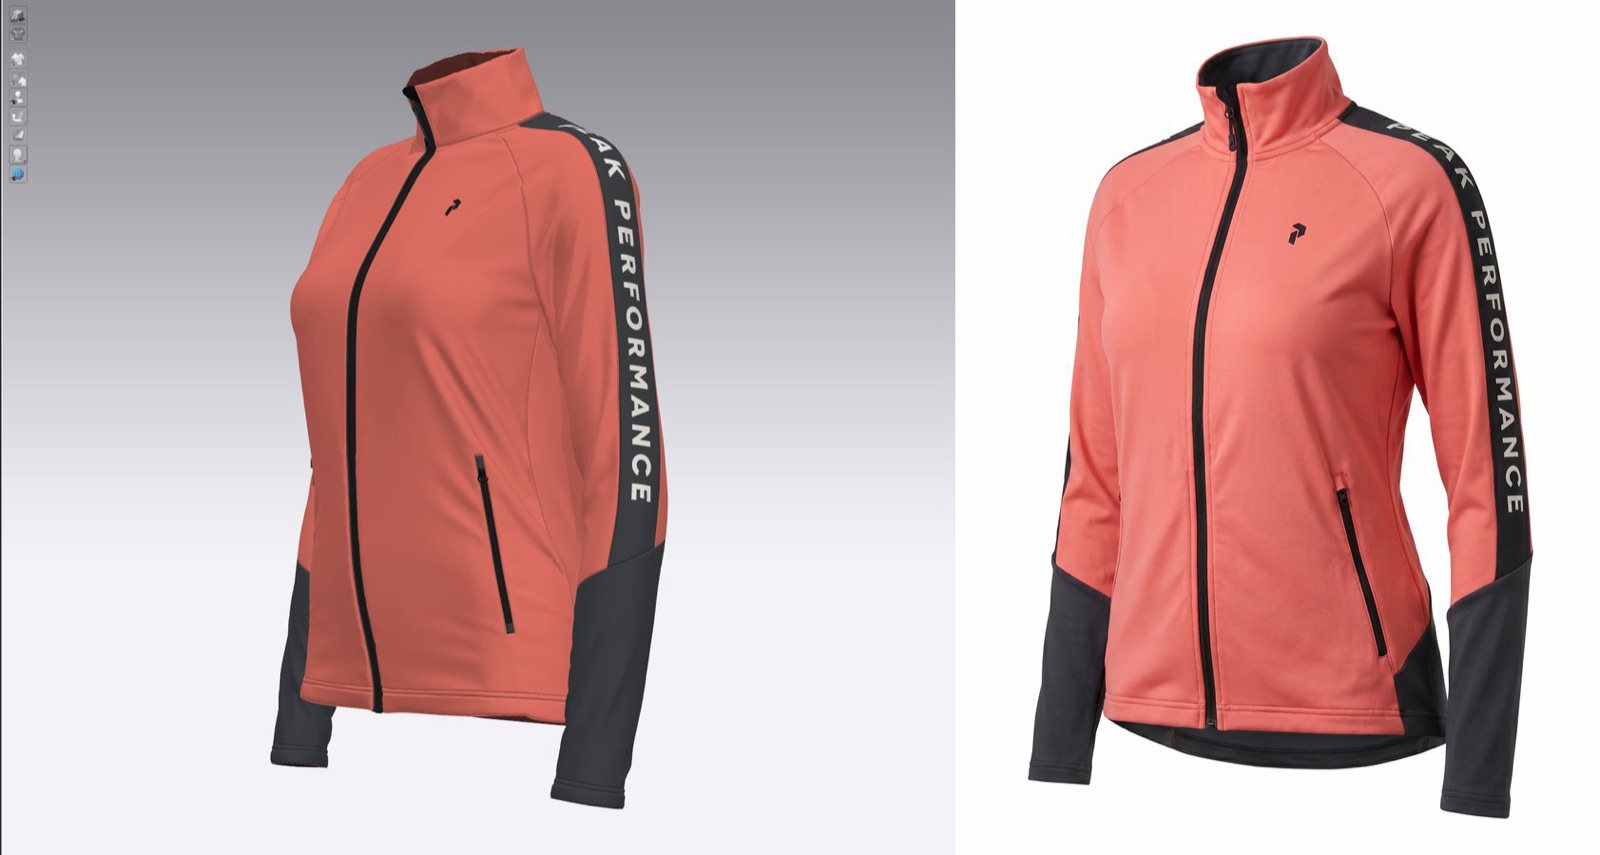
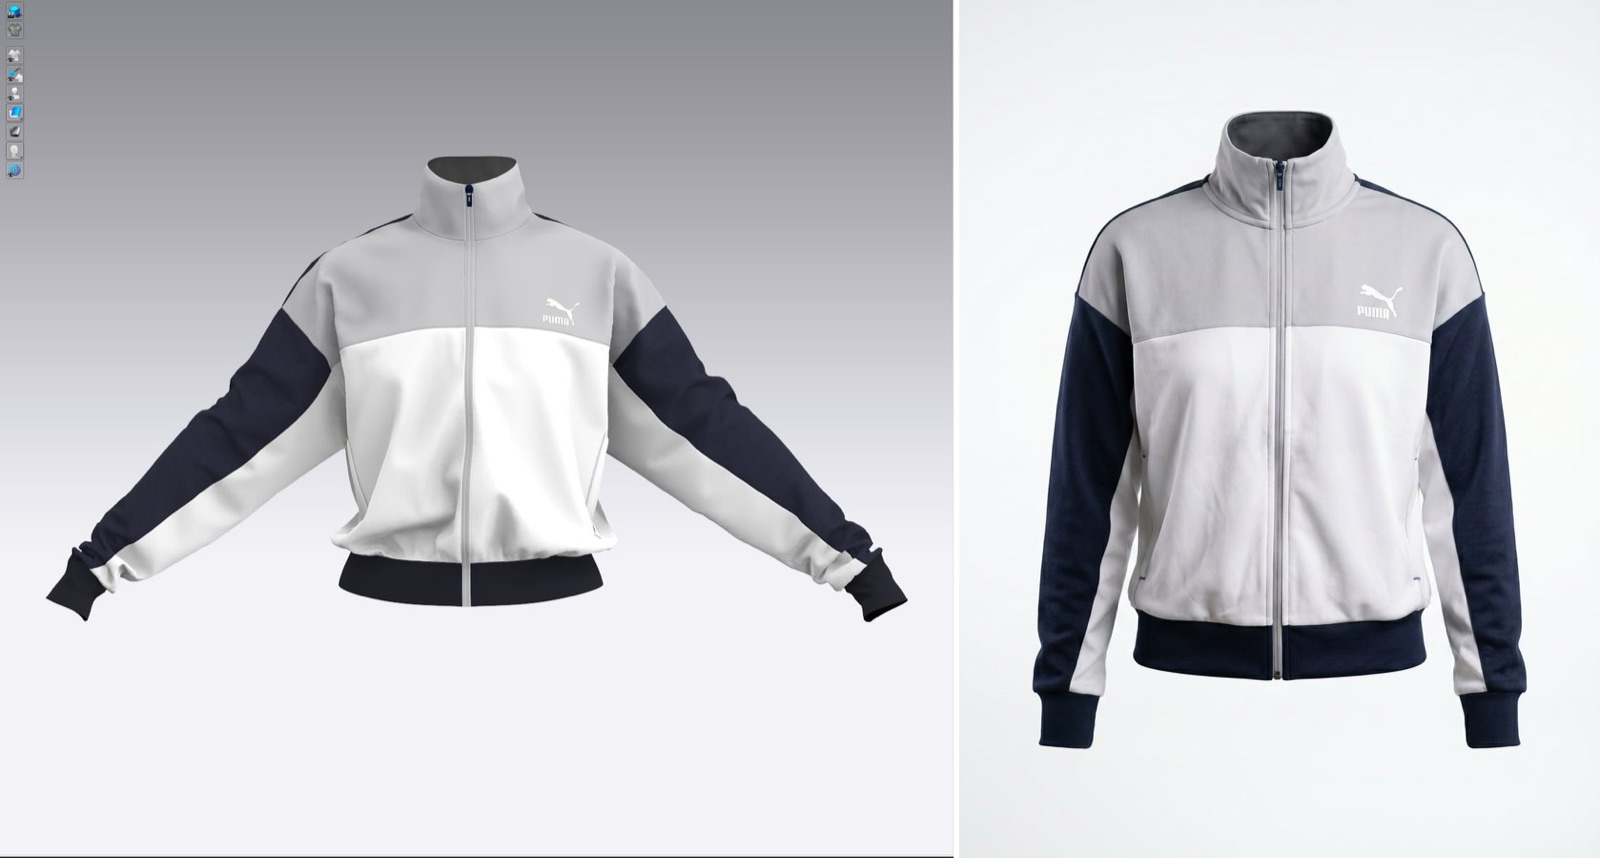
The result is imagery you can drop straight into a lookbook, product page or campaign, on a clean studio background or a soft gradient, with integrated lighting and contact shadows.
Open Canvas in the Intelligent Tools, drag in the 3D Enhancer node, and upload your first render. Or download the ready-made workflow and import it directly. Questions? Reach us at support@thefabricant.com.